Campsite- Best Free App For Instagram Links
There are a number of Apps available, both paid and free serving the same purpose of adding and managing links on Instagram. Here is a how-to-guide for using Campsite. Although once Signed-In the website comes with a very specific and clear tutorial on adding links to Instagram. But I will brief it further in a Step by step guide to add links to Instagram.
Step 1:
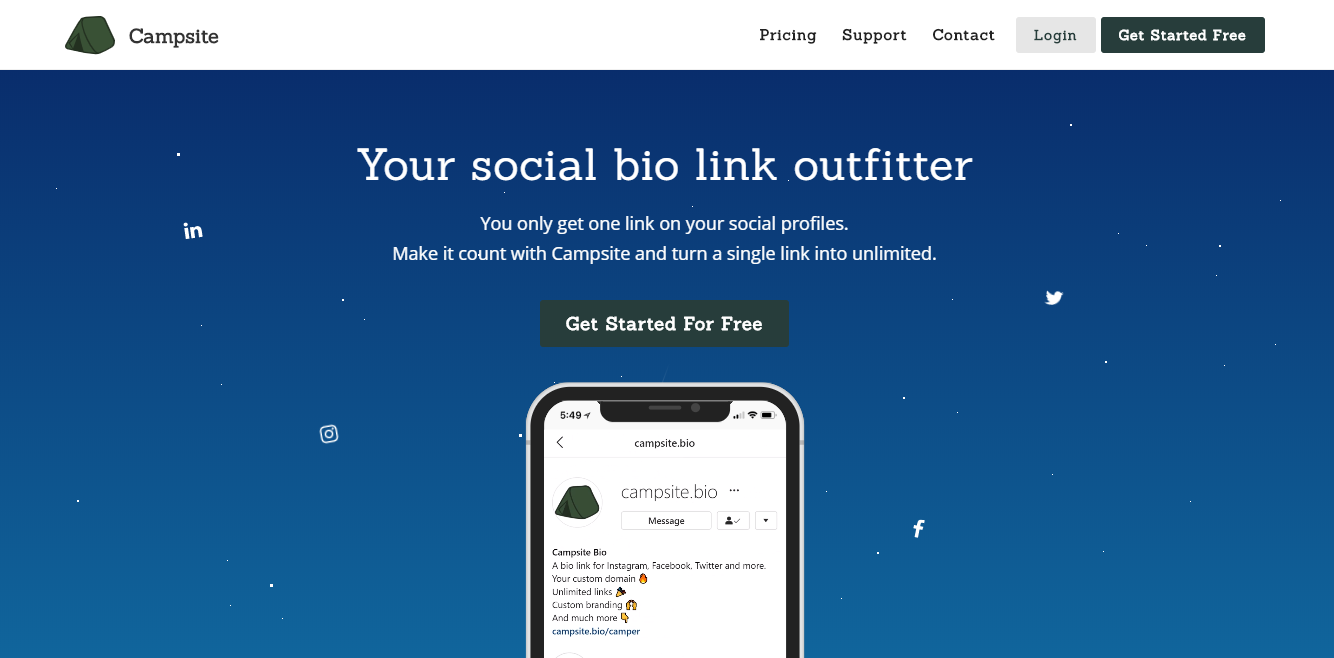
Go to: Campsite.com
Click on ‘Get Started Free’ and the following window will appear
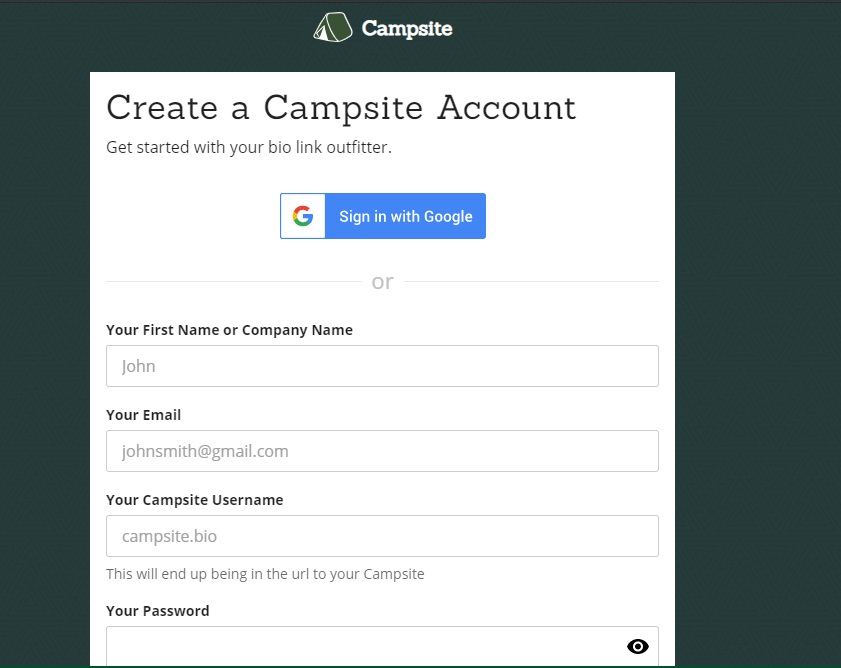
Get yourself ‘Signed Up’ preferably with ‘Google’ as in this way you will never have to worry about forgetting your password. Note that the ‘Your Campsite Username’ will be the only displayed URL of your links in your Instagram profile.
Step 2:
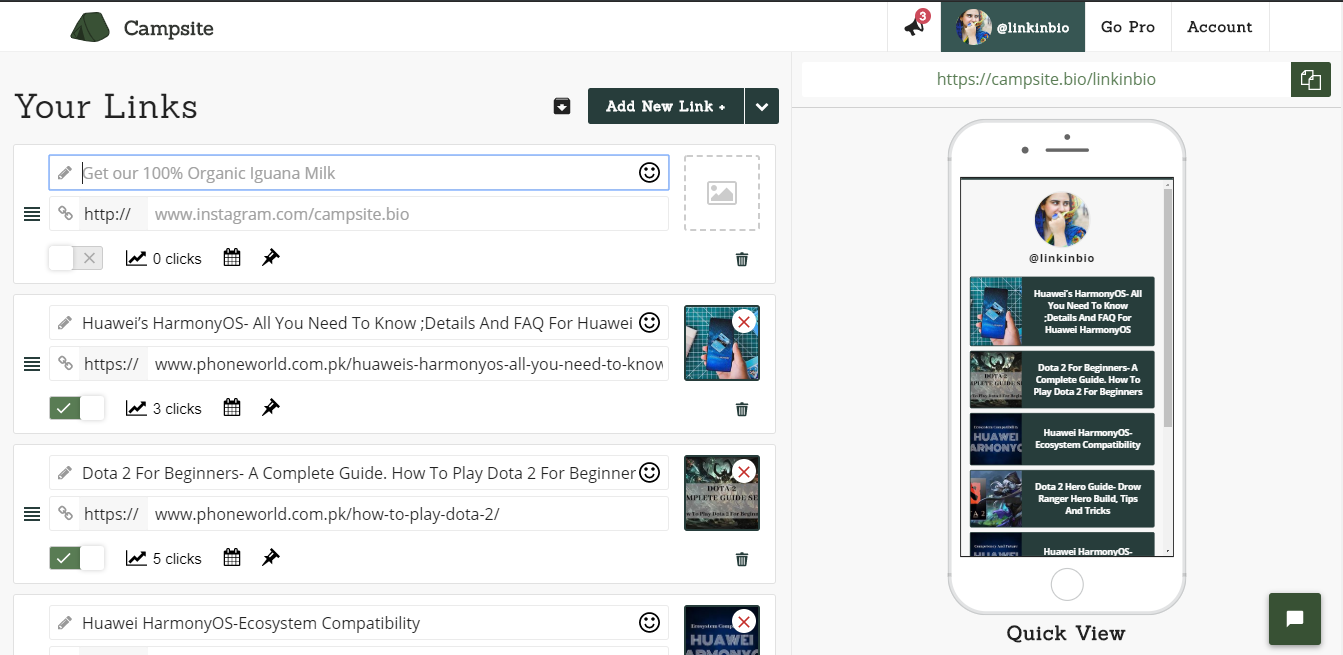
Link your Instagram profile with your Campsite account. A pop-up will appear right after you sign-up. Enter your Instagram credentials there and give access to Campsite and you will be linked. The following screen will appear right after.
Step 3:
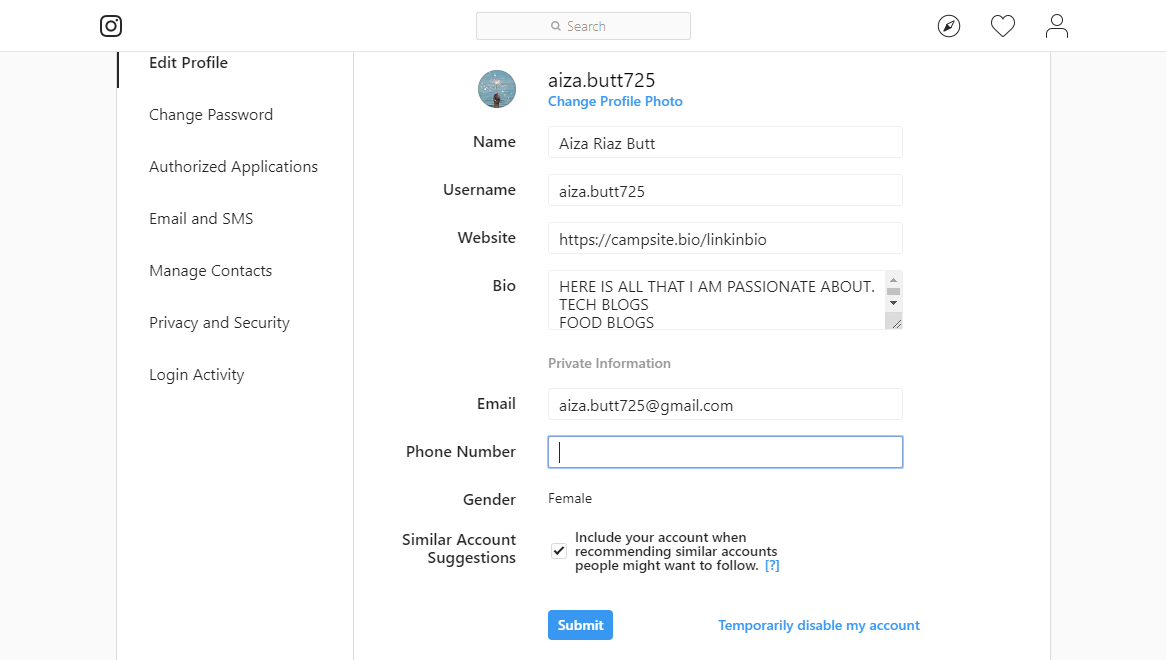
Add your Campsite link to your Instagram. Go to ‘Edit Profile’ and add the Campsite Username in the ‘Website’ block.
Step 4:
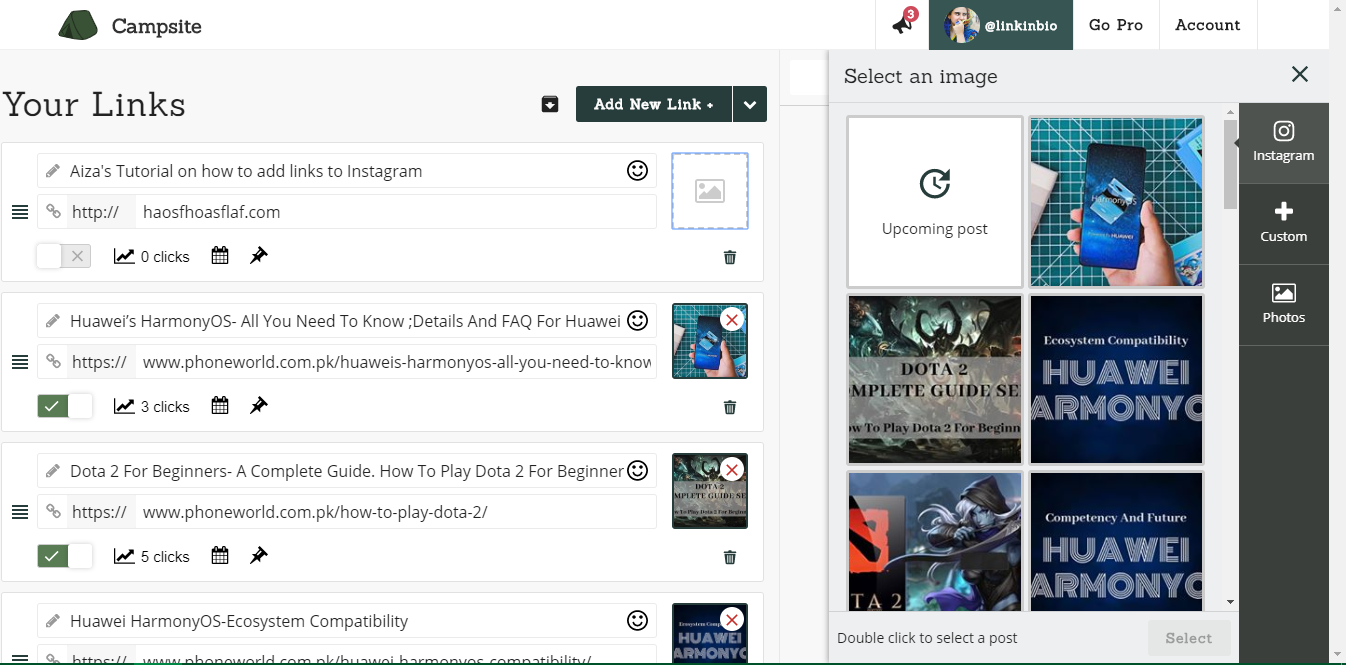
How to add a link to Campsite: Click on ‘Add New Link’ In the first block write your link’s Title, to be displayed. In the second block add the site’s URL, your link basically. How to Add a Photo To Your Link:
- Add the photo to your Instagram as usual, the photo related to the link you are to add. 2. Click on the Photo Icon. And select the photo you want to add.
Click on the ‘Cross Mark’ to turn it ‘Green’ indicating the link being displayed. After adding a new post, in the caption add the link to your profile with the following phrase: Link in Bio: @aiza.butt725 (By the way, feel free to follow me on Instagram)
And you are done!